Wednesday, 4 March 2015

VF Miniatures is Up and Running!


Hello everyone, thank you for your supportive comments, I really appreciate them, and welcome to my new followers. 

I can now say that VF Miniatures is up and running, at long last!


A little baby boy's room.

A couple of shop units....


Just a couple of items on my new website, www.vfminiatures.co.uk

I'm sure I'll have a few teething problems, but hopefully I'll get them all sorted out.

I have my items listed in the 'Store' tab in my facebook page www.facebook.com/vfminiatures

So I've been busy, busy, busy.......

I have lots more ideas for my website, so keep checking back!

All the best, take care - and spread the word!

Vivian


Saturday, 21 February 2015

The Garden Room Corner

Hi everyone, I hope you are all well.  A huge thank you for your lovely comments on my Lady's Sitting Room, I really appreciate them; and welcome to my new followers, I hope you enjoy my blog!

Now, in my last post I had said to watch this space.....well this is what I've been up to!


This little glimpse of a garden room is 12.5 inches finished height, and 8 inches square internally with a 10.5 inch high floor to ceiling height; fitted with a working light with an on/off switch.


Naked!  Except for the light fitting.....


A couple of shots of the interior... with De Vine Miniatures chair, sofa and table - aren't they lovely?  I painted the plant stands....I think they look a bit better now than in their original white!


A shot of the exterior covered with a paper which closely matches Damask Cream used on the ceiling.

You can see the battery pack on the other side...


A view of the ceiling...


A shot of the top, but still a work in progress when this was taken!


I have...and still am....really enjoying working on Fox Manor, and have decided to make more roomboxes and corners to sell so I can keep on designing room scenes and keep on decorating.  I had been in despair at the thought of finishing my Manor and never being able to decorate again!  So I have decided, rather than filling up my house with dollshouses I would make little scenes, baby gifts and pieces of miniature furniture given the Vivian treatment to sell on.

A very ambitious notion for me, I know, but let's see how it goes....and if the worst comes to the worst and nobody buys them, I guess I'll just place them around my house....as I will only make what I love!  Simple!! :)  My website is www.vfminiatures.co.uk and is still a work in progress at the moment!


Well folks, that's it for now, and I hope you have enjoyed a tour of my little Garden Room Corner.

All the best
Vivian


Tuesday, 27 January 2015

Fox Manor

The Second Floor - The Lady's Sitting Room


Hi Everyone,

Thank you once again for taking the time to read my blog, I appreciate each and every one of your kind comments.  I have been working away on my Lady's Sitting Room just before and over Christmas, it was lovely to do.  I had to step back for a while as hubby was away and I needed the man-saw, so that put a halt on things for a while, as I'm not allowed near it!  I also cannot believe I now have 60 followers!  Thank you.

The Lady's Sitting Room is the last room on this floor to be completed, and is situated over the Gent's Games Room below.  I decided that the Sitting Room was best placed here, as the noise from the gentlemen below would be a distraction to my Lady if the bedroom was placed here and she were trying to sleep!  I think my family reckon I should be locked up at this stage!!


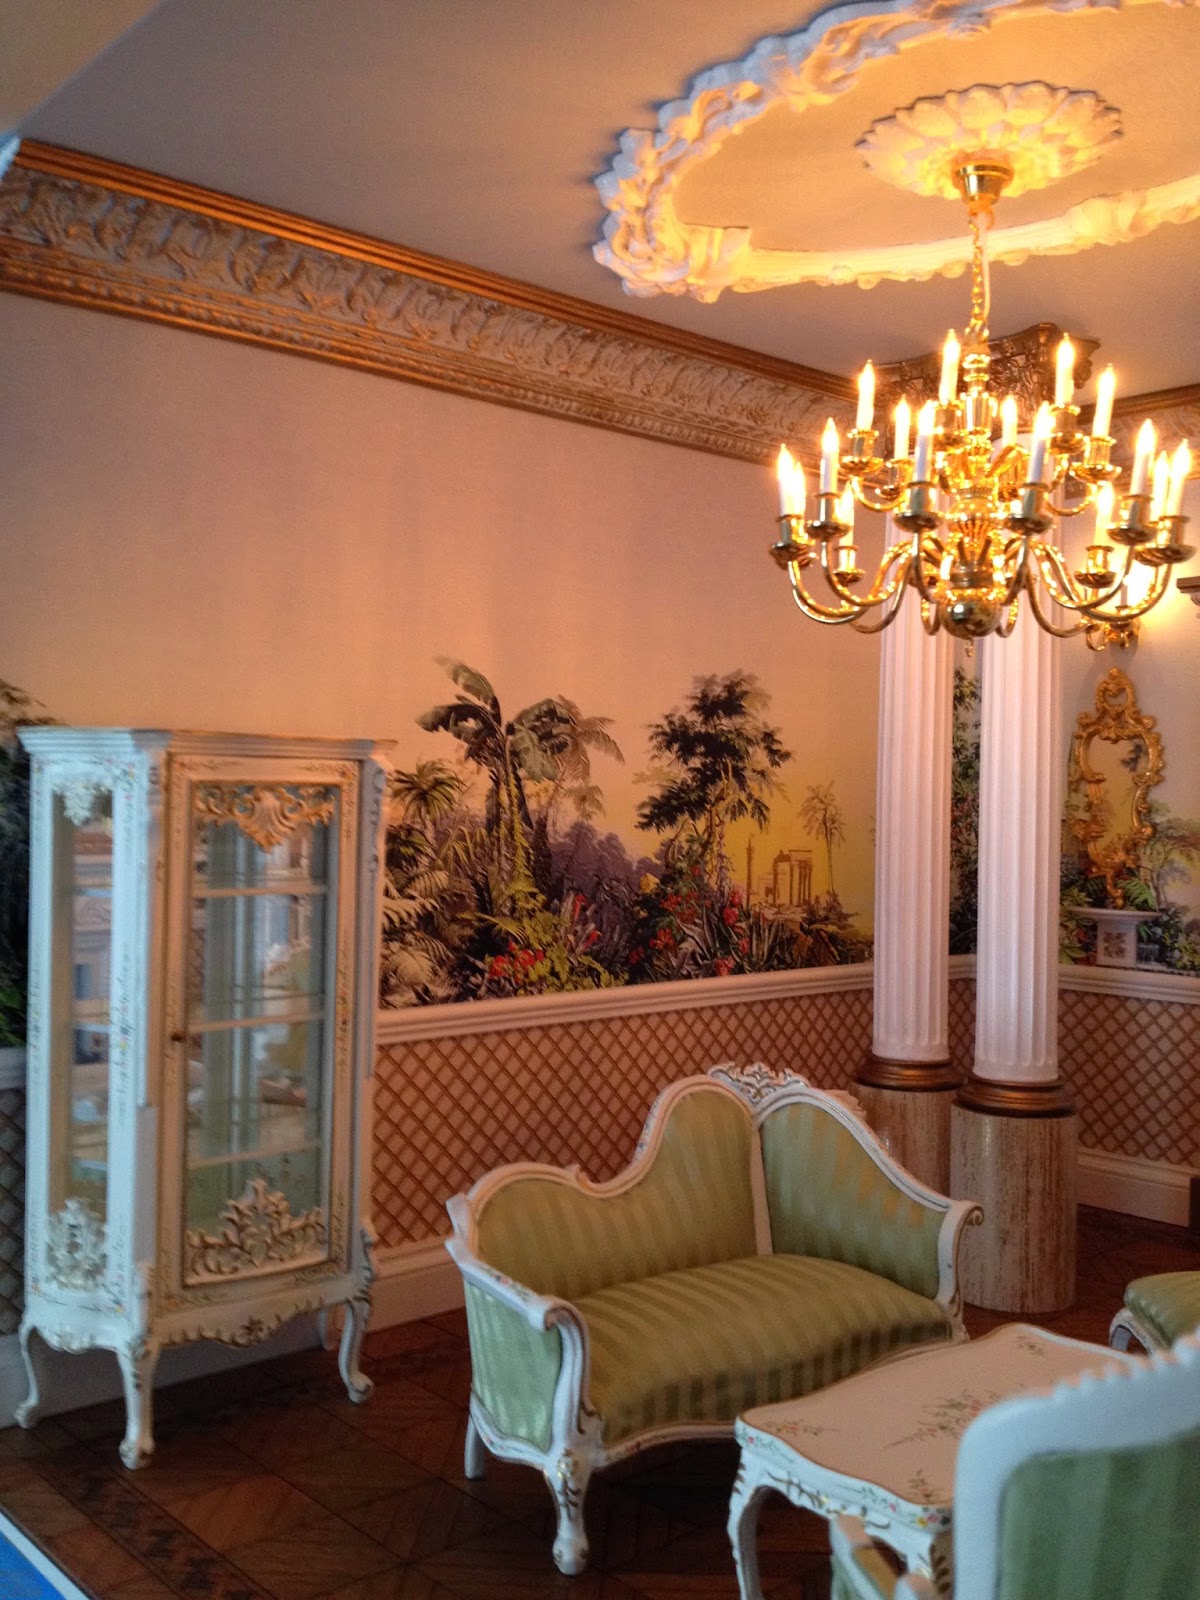
I painted the ceiling in a lovely blue - 'First Dawn' by Dulux to match the blue of the mural wallpaper - it is 'El Dorado' by Les Chinoiseries.  As I'm sure you know by now, I just love Carmen's wallpaper, but I have to say that this is the first time ever with her papers that I found if it got wet at all, the colour came off, so gently, gently does it!  I wanted to give the illusion of the sky of the wallpaper continuing on up and around the ceiling.  I also painted the lovely moulding by Sue Cook in the same blue and highlighted it with my favourite gold paint, just to emphasise that there really is a coving up there!  I was afraid of there being too much blue!  But by painting on the gold, I was afraid I'd detract from the original idea of continuing the blue from walls to ceiling!  Oh, decisions, decisions.......


I actually ended up putting more gold on the coving!


The ceiling rose was placed slightly more to the front of the room as I wanted to place pillars towards the back....leaving everything slightly off centre.  Ah, well.  It's me we're talking about here.  Always making trouble for myself! lol  I have to say, that I have used a lot of Sue Cook items in my house, but a lot of the rest have been made by Replicast Miniatures...they are really lovely also.

The bare state of the room with the door blocked off to the left.

I have already closed off the door to the left of the room, which would have originally been going out into the stairwell - this is now the Lady's en-suite; I have placed double doors at the back of the room instead so you can access the rest of the Manor from there. ;) I bought the doors from the USA off Jim Coates.  His items are just lovely.  The detail is so crisp and clean.  The fireplace here is also made by him.


To the door I added some brass stampings, then I painted the whole lot white.  I highlighted the stampings and other parts of the doors in my gold paint and added the handles.  They were too brash a gold colour so they got the gold paint treatment too....:)


I like to have a little something to a room, so that it does not look just like a 'box'.  But the deep coving (as I know from past experience) is such a pain to cut - for me anyway.  I had to think of a way to make my room interesting, so I finally opted to place a couple of pillars to the back of the area to give the Sitting Room a grander and more opulent entrance for my Lady and her friends!


The floor, as usual, was a challenge for me.  Floor designs, simple or not, usually take up most of my time in thinking what to do!  Mind you, others dedicate such time and patience to their masterpieces, that I am always ashamed to complain about doing mine!


Here I finally chose a cherry floor with some walnut complete with a parquet border.  I kept the 'central' design to the front of my room - so it would be seen, but also to emphasise the sitting area as opposed to the entrance area.


I finished it off with a coating of natural beeswax, but I thought it was a little too 'orange' for my taste; so I went over the whole floor with a dark wax and I'm much happier with the look now.


The pillars from the wonderful Sue Cook, weren't tall enough for the room so I had to make pedestals for them - which came in the form of off-cuts from the curtain rail used in my RL bedroom.... waste not, want not! Ok, Ok, my poor husband had to cut them.... :)  Waiting on these held up the finishing of this room!


The warm cream and gold tones of the curtain pole...sorry, my pedestals :) blended well with the tones of the base of my wallpaper, so I didn't repaint them.

I painted the base and the top parts of the pillars with my favourite gold paint from Craig & Rose; the main pillar was then painted white.

The Jim Coates fireplace was again painted white and I decided not to highlight with gold as there was the gold mirror above, and as it is closer to the ceiling rose, I thought I might have enough balance here and in highlighting the fireplace....well, it may well be just too overpowering when the ornate furniture is in place.

I would have dearly loved to have had a chimney breast, but the plaster coving was bigger than me, so I'm afraid I had to bow defeat and do without :(

Maybe as time goes on and I get more confident I will venture forth and learn how to cut deep coving, plaster or otherwise....but time will tell!  Maybe a new saw is what's needed...I thought Santa might have rustled one up...but it looks like I'll have to sort myself out!

The skirting and dado rail are painted white.  Fresh and clean :)  I had originally painted the dado gold to see what it would be like, but too much of a gold thing just doesn't work :) ....I didn't like it for this room, but I wouldn't rule it out for somewhere else!


I made the hearth for the fireplace in the usual way, with heavy grey card scored to give a hint of slabs being used and I painted it and the fireback to look used.

I used an 18 light chandelier in here and I also have two double candle wall lights at the back of the room.


The rococo mirrors on each side of the doors are by John J Hodgson and are so detailed, I love them, and below them I have tiny little shelves!

Without the lights on...


A few views of my Lady's Floor

I am quite sad in a way that that's another floor finished in my Manor.  Only one more to go.... I just love decorating and I know that the top floor - the attic, is going to be such a challenge for me - height wise LOL.

I hope you have enjoyed the making of my Lady's Sitting Room.  Again, I have soooo many little bits and pieces to get to finish the room off, but, all in good time!

It may be a little while until I start the final floor of my manor....I have a something in the pipeline, so watch this space :)

All the best and take care.

Vivian


Friday, 12 December 2014


Fox Manor


The Second Floor - The Lady's Dressing Room/En-Suite


Hi Everyone,

Thank you so much for your lovely comments on my Lady's Bedroom, and I'd love to welcome to my new followers, I appreciate each and every one of you.  I can't believe I have over 50 followers and have had 5000 page views, wow!  Thank you for making my enjoyment in building and decorating my Manor more special.

Now, the Dressing Room.  The Dressing Room is attached to the Lady's Bedroom and has an En-suite off that.  Sounds heavenly, doesn't it?

This space is directly above the Gent's Study/Hall and was originally supposed to have been a stairwell.  Again, I have a hall here leading from the Lady's Bedroom to the rest of the Manor....and yes, your imagination has to be fired up here! :)  I also have the Dressing Room and En-suite as well.  I was afraid I wouldn't get everything I wanted in here, but I think I have successfully achieved what I set out to do considering I am working with a total area of 10" x 15"!

I papered the ceilings as I had to fill in the hole from the stairwell, just in the same way as I have on previous floors.

 
The original hallway, with the hole for the stairwell filled in...I have such a lot to fit in this space!
 

The Hall area was papered with the same paper I have used in the halls throughout the house, just for continuity....and I really love the soft colour of it.  The flooring is an offcut of walnut flooring, as is the skirting.  The little table is just so beautifully detailed and fits in the hall perfectly and I placed the lamp to the far left so it can be seen from the bedroom.

 
The debacle with the installation of this doorframe leading from the bedroom to the hall is fully documented on my previous post on the Lady's Bedroom :)  You see...no door!

I decided to paper the En Suite with the same paper as the hall, but in the deep burgundy colourway.  I thought (rightly or wrongly) it would contrast nicely against the bathroom fittings, and be a dramatic contrast to the delicate furniture and décor in the Bedroom and Dressing Room.  The original doorway to the room on the right, has been closed up and papered over to make this an enclosed room.


The shower cubicle was slight seconds that's why I have it taking a little bit of a back seat...but I think it looks just right here.  I know you won't be able to see all of the items in here, but, like the Gentleman's en-suite.....I know they are there.  The corner sink will be fitted on the right hand side when I install the wall.  The floor is, again, a card that I tiled with my favourite 'granite' tiles, and kept slightly high to enable the wiring from the study below to pass under.


A view of the layout of this area.  The Hall to the left and the En-Suite to the right.
The Dressing Room will be in front with an entrance to the En-Suite.
 
 
I papered the Dressing Room in the same paper as the Bedroom, Grand Bal by Les Chinoiseries,  and finished the doorway using the same Sue Cook plaster mouldings used in the Bedroom.  The doorway to the En-Suite is finished with a wooden surround and painted white. 

 
The Dressing Room wall has been erected and papered.


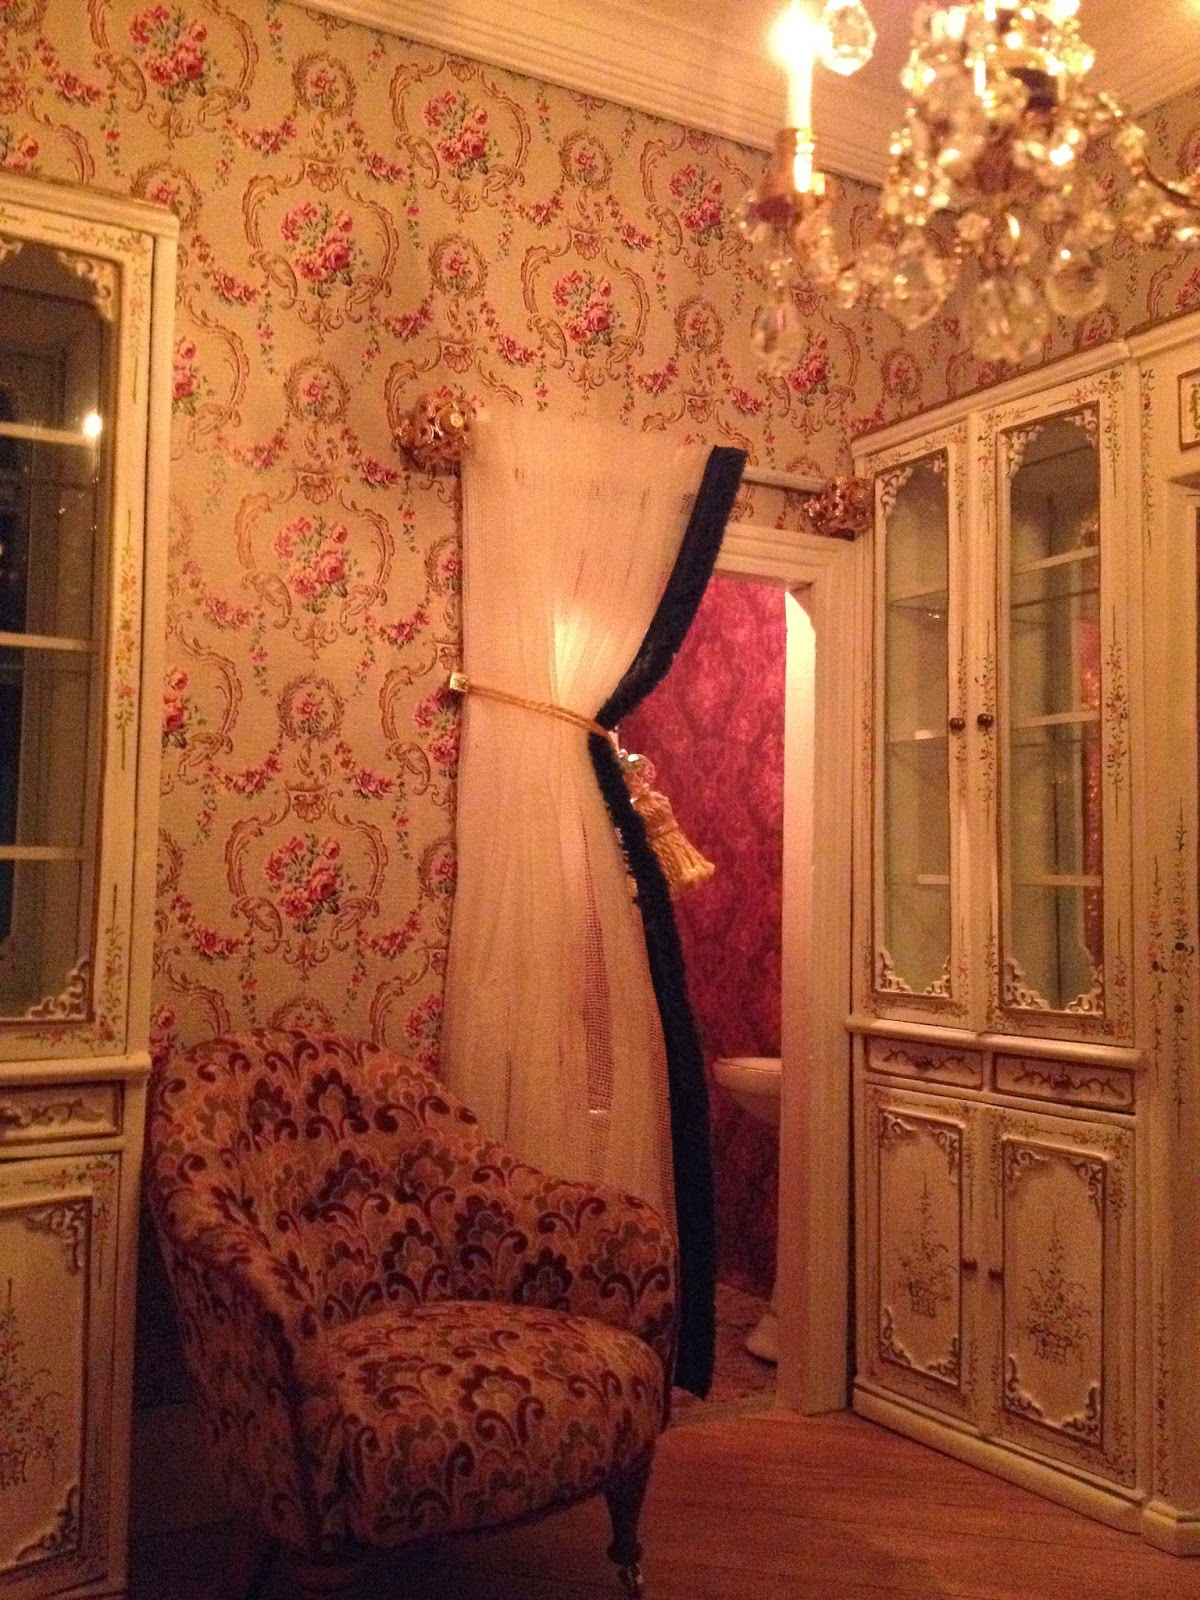
I had originally planned to install a glazed door leading from the Dressing Room to the En-suite, with a little curtain of Grand Bal by Les Chinoiseries behind it.....but my husband thought it would be an awful shame to hide so much of the En-suite, by having a door that could only open so far.  So, I am not adverse to repeating myself, and I decided to put a curtain here instead - just as I did for the Gentleman's Bedroom. 

I followed a wonderful tip given to me by Irene, when using the Pretty Pleater.  I had terrible trouble whilst working on my Gentleman's Bedroom curtain with the Pretty Pleater - the silk fabric just kept popping out of the 'ribs' no matter what I did.  Irene suggested wetting the pleater before using, and it was a brilliant help.  The fabric stayed put...yes!  I then sprayed the fabric with hairspray, as before, and when it dried, I arranged the folds to give a very high tie back style. 


I made the curtain in the Pretty Pleater, then I took it off to arrange the tie back.


Pinned to a high tie back for more visibility into the room.....and because I like it!

I went with this arrangement to give more visibility into the En Suite, and so that the curtain and tie-back wouldn't 'crowd' the gorgeous chair.  I trimmed the curtain with the same green fringing used for the little stool in the Lady's Bedroom.  I made the tieback in a similar fashion to the one in the Gentleman's Bedroom.  The curtain pole was a skewer - initially painted gold, but then I changed my mind and repainted it white..:)  The fittings were made up of little jewellery findings.

 
I used a little faceted glass bead...so dainty!


Jewellery findings to make the supports for the curtain and pole.


The little chair in the Dressing Room, is wonderfully made by the very talented Kris Compas, and I thought it looked just fabulous here.


I think this little chair is gorgeous!
 

I painted part of the ceiling rose with some of the green paint used in the Bedroom...again for continuity and to give a little colour to the ceiling area.

The floor is a mirror image of the Bedroom.  Planks on a 45 degree angle, but going the opposite direction.  I put a little marquetry in the floor in the doorway between the Bedroom and Dressing Room, which I just love.  It gives the plain floor a little definition between the two areas.

I used the same Heidi Ott light fitting here as in the Bedroom, but in the slightly smaller size.


Views of the interconnecting rooms.
 
I always keep the floors below covered up when I'm working, just to keep things clean and dust free!


The furniture in the Dressing Room were supposed to be shop fittings, but I love the look of the units in here.

I still have a lot of nik-naks to fill the shelves, but, again, all in good time :)


A picture in the dark with the Manor lights on...you can just see the little corner sink in the En Suite, and I think the burgundy paper just glows.


Another view with the lights on!


From here you can see all areas of the Lady's Bedroom, Hall to the Bedroom, the Dressing Room and En-Suite.
The painting is called 'Windmill in Landscape' by Andrew Nicholls, it's so beautiful.  I have a couple of Andrew's paintings and I love each one!


I hope you have enjoyed this post, I know I tend to ramble on a bit, but thanks for persevering with me.....

My next room to be tackled will be the Lady's Sitting Room - but that may be a wee while away!

So until the next time, have a very Merry Christmas and a Happy New Year to you and yours.

All the best and take care...enjoy your weekend!

Vivian


Friday, 24 October 2014

Fox Manor


The Second Floor - The Lady's Bedroom


Hi everyone,

I can't believe it's been so long since I posted on my blog, but we'd been very busy at home preparing for my daughter Caroline's wedding which took place at the end of September.  I had been doing a bit of RL decorating in preparation and it was just lovely to see her.  As you all know, she lives in Australia at the moment and came home to Ireland to get married.  It's so hard to believe it was two years since she was last home....  So bear with me, folks, my miniature work may be slow, but I still am working at it.....in my head anyway!

I also want to say a big thank you for your kind comments on my little corner display and to welcome my new followers, welcome along!

This floor is going to be called, surprise, surprise, The Lady's Floor.  This floor will be a lot brighter with delicate colours, in contrast to The Gentleman's Floor below!

Now, the first room on the second floor to be done actually stretches across two rooms.  The main bedroom for my Lady, is directly above her husband's below - to the left of my manor.

The second part, is her adjoining dressing room, walking through to her en-suite - lucky lady! This is directly above the Gent's Study.  This area will also house part of the hall going out from her bedroom and going back into the manor - yes, imagination is all important here!  It does sound very complicated, but it will become a lot clearer! :)  Here's hoping.....

The door to the back of the room is the main entrance to the hall, and the newly made 'doorway' to the front of the room will enable my Lady to enter her dressing room and then through to her en-suite.  Thanks to my hubby for that!

In the bedroom I painted the ceiling and part of the wall in a Crown Period Colour in 'Flagon', a lovely soft green.  The central ceiling mould started life as a picture frame - papered in the centre with 'Grand Bal' from Les Chinoiseries.  I then stuck a lovely 'rosey' ceiling rose in the centre.  I am happy enough with the result.  I do like to try new things.....:)

The remainder of the room was then papered with 'Grand Bal' with some moulding and picture rail added.

The lovely plaster door surround for the main entrance to the bedroom is by Sue Cook and painted white.  The other open entrance through to the dressing room has a plaster sides also by Sue and doctored by me with a makeshift 'skirting' top! I do have little brackets to add, but I will complete the dressing room first before adding them.

I was such a ding-dong when I was painting the door from the hall to the bedroom!  Do you want a laugh?  Well, I decided the best way to paint my door was to remove it from the frame.  In my 'concentration', shall we say, in doing the adjoining hall, I glued the doorframe in so I could get that little space finished.....yes, doorframe.  I didn't even realise that I hadn't the door put back in until a week later! :(  Talk about a handling, trying to get the door back on and still have it working.  BUT I persevered and fiddled about until I got it in and working.  THEN I realised I really should have painted more of the doorframe as you can still see a lot of brown from the hallway side, in the bedroom.  But I think I will leave the door slightly ajar to the hallway so the little light can be seen on the table, and maybe the doorframe won't be as noticeable.

I painted the bed canopy white, but highlighted it with green, red and pink paint - it's not in place at the moment as I still have a curtain to make and attach to it - and it will be a lot easier to work with if it's not attached to the wall.

The fireplace is from Reutter, and I have been just waiting for somewhere to put it.  I think it's lovely.
The hearth is made from mountboard and, again, scored to imitate slabs, done in the same way as the hearth in the Games Room.  I have the wire for the fire running along the base of the skirting board in a little hollow that I left by making the floor a few millimetres shy from the wall.

The floor.  I think this floor took me so long to do, as I couldn't decide what I actually wanted here.  The making of it was fairly quick once I decided what I was doing.  I just laid plank flooring at a 45 degree angle.  I waxed it, and didn't like it....so I put a darker wax on top and I am a lot happier with it now.  It's a plain floor, but I think the ornate furniture really stands out against it.


I made the little stool at the bottom of the bed myself :)  I wouldn't like to put it to the test and have someone sit on it.....but I think it looks very effective :)  I have covered it in 'Grand Bal' silk by Les Chinoiseries to match the wallpaper.


I had already bought the light fittings for the Lady's Bedroom and Dressing Room.  They are by Heidi Ott and I think they are very sumptuous for a bedroom.  But I am that type of girl :)  Girl, who am I kidding! Lol.  Anyway, I love a bit of bling, as long as it's tasteful.


Here's a few more pictures of the bedroom.  I have hidden the view to the dressing room with a box, but all will be revealed when I get it finished :)


Ignore the blue tape, it helps to keep the lower floors covered and clean....:)

So there we have it.  The Lady's Bedroom is nearly complete.  I still have to dress the bed, install the bed canopy with curtain, and perhaps a rug to bring a bit of warmth to the room, but, all in good time.

Thank you for looking at my Lady's Bedroom and I hope you have a lovely weekend.

All the best and take care,

Vivian


Just a little snap of Caroline and her new husband, Aaron.....taken by me, so it's not the best:)